1985 Raleigh Portage (Part III)
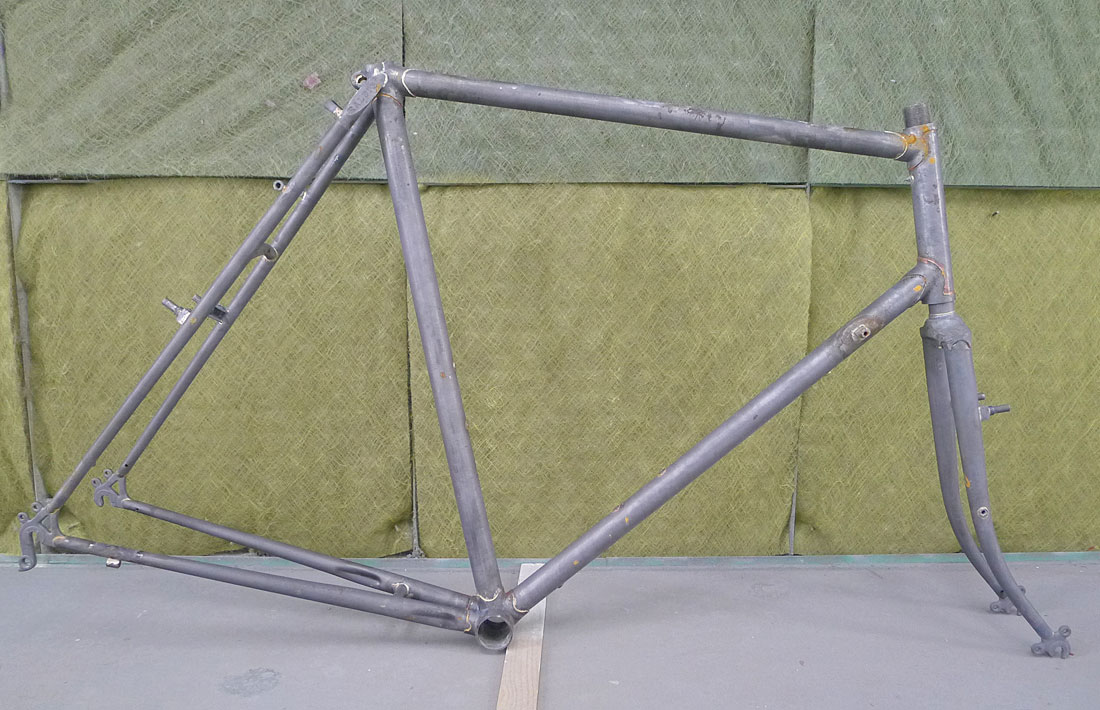
Offered (mostly) without comment, images of the Raleigh Portage in its raw steel birthday suit. Before paint was applied, these shots were taken just after the frame had been chemically soaked for a number of days removing nearly all trace that pigment had even existed.
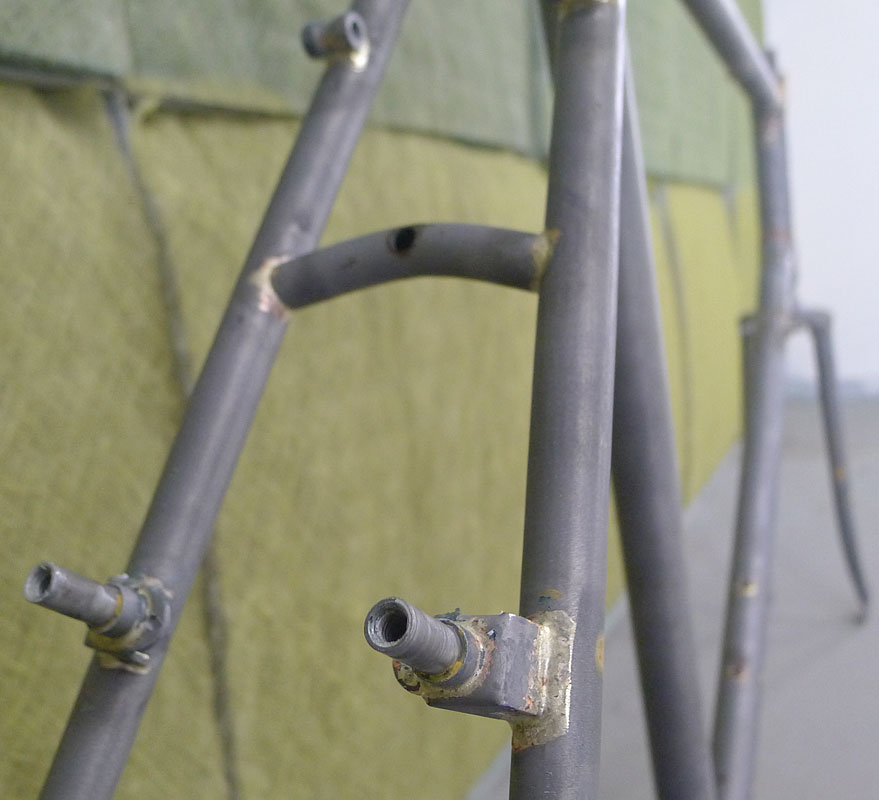
Details of the original brazing is evident along with some of the alterations I had performed by Cooper Cycles.
An extremely long delay has moved this project along slower than anticipated. However, paint is now sprayed, decals are applied and the Portage is ready to be revealed. Those results will not take nearly as long broadcast, so expect them before long.
1985 Raleigh Portage


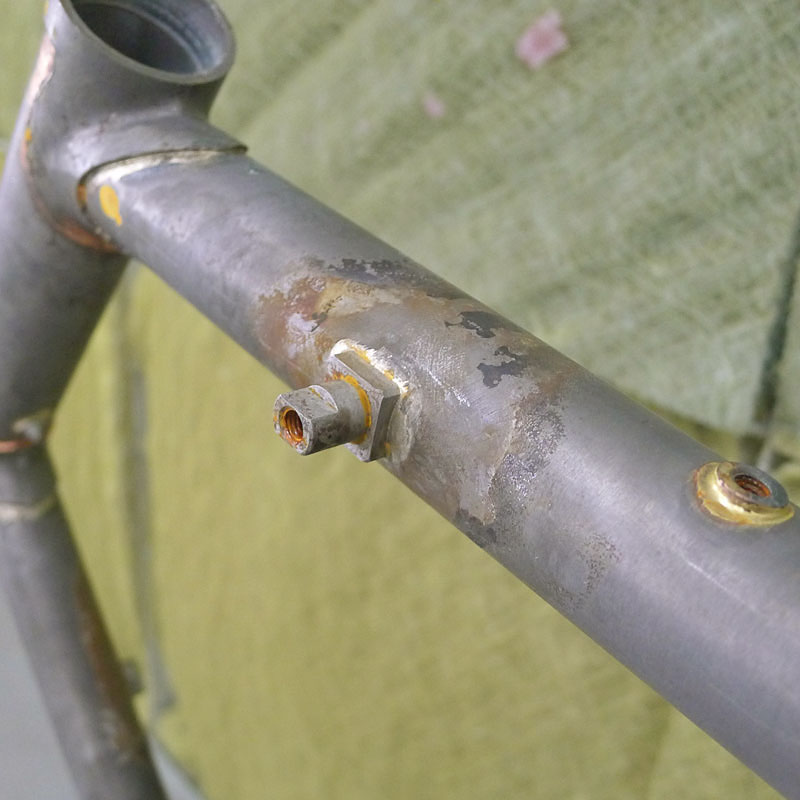
Travis’ precise brazing of the standard shifter bosses

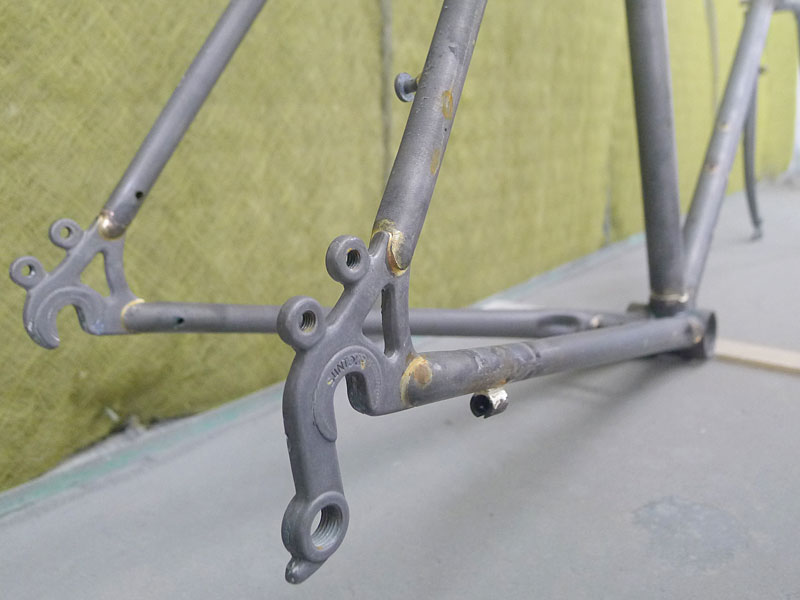


The most excessive traces of brazing found on the underside of the bottom bracket shell
© Josh Capps and The Simplicity of Vintage Cycles. Unauthorized use and/or duplication of this material without express and written permission from this site’s author and/or owner is strictly prohibited. Excerpts and links may be used, provided that full and clear credit is given to Josh Capps and The Simplicity of Vintage Cycles with appropriate and specific direction to the original content.


Looking good. Can’t wait to see the painted frame!
I really am impressed with the results. I hope the rest of the readers agree!
Pingback: 1985 Raleigh Portage rejuvenation (Part V) | The Simplicity of Vintage Cycles
Today I began the journey to refurbish my 1985 Raleigh Portage. Your post is helpful. I’ve had it since 1986 having bought it used at a Miami bike shop. I stripped it down today, will clean and paint it and then begin the rebuild. Wish me luck!
You have my best of luck, Frank! I’m sure you’ll do a bang up job.
One thought though, unless paint is really, really necessary, it will help your budget and preserve the historical legacy if you can keep the paint/decals in tact. Is it really that bad?
Hi Josh, thanks for responding! I’d post some pics but not sure how to. I’ve already primed and painted it. Not doing a restoration..more of an update to make it look nicer and run smoother. But I am taking my time and striving to do an excellent job that is worthy of admiration. I’m at the stage of ordering new decals and doing some detail painting of the stampings before moving on to application of the clear coat finish. So I reread the challenges you had with your painters concern over the clear coat selection. I’ve consulted with my local FedEx print shop and they say they can create my decals. But before I make a mistake, would you give some guidance as to your process for having your decals made? All of them… ALL…. of them, please. ( perhaps your supplier still has the information to make a set for me ) And then also the specific clear coat product name and part number that you found to be compatible with your decal material. My only other concern is regarding the brake cantilevers. I destroyed my front set trying to release them from their posts, and discovered too late that a puller was needed. ( the rears slipped off easily ) . Would you clear up the specific changes you had to make to the fork posts to accommodate current.
Sounds like a really great winter project you’ve got going on there, Frank. I bet you roll your beauty out around mid-spring, just in time for the riding season!
As for clear coating, I wish I had more information but the fella who painted my bike has all but dropped off the planet. He wasn’t the most reputable painter and I believe some bad business has finally caught up with him. So, my line to him has gone cold. I do remember he was using Dupont Imron clear coat. Now, I can’t recall if this is the clear coat that made the decals run or if it was the savior clear coat that locked them down. If it was me, I’d do as much online research as I could, buy a couple different substrates, buy your decals along with a few other random decals to test the clear coat on then do just that. Test the decals and clear coat on some steel after it has been primed.
Regarding my canti posts, the fork itself went under the torch. The whole frame did, really. I had a professional frame builder make all kinds of changes where they made sense. Brake posts were narrow in the 80’s so using modern canti’s is difficult to get them to work properly since most bikes now have a much different spacing at where the canti posts are located. But, canti brakes that work on our vintage machines are out there. Some that accommodate, off the top of my head, are IRD, Tektro CR720/CR520 and Empella Frog Legs. I’m sure there are others and I would encourage some research to make sure you are getting what you need.
I wish you nothing but good fortune on your Portage refresh, Frank!